Introduction to Auth0 Actions
Actions are used to customize and extend Auth0’s capabilities with custom logic, read on to see how you can implement it effortlessly in your project.

Actions are secure, tenant-specific, versioned functions written in Node.js that execute at certain points during the Auth0 runtime. In short, an Action is a programmatic way to add custom business logic into your login flow. With Actions, you can add a customized mandatory logic to your login and identity flows that satiate your needs. The service also allows you to connect external integrations that complement the overall extensibility experience.
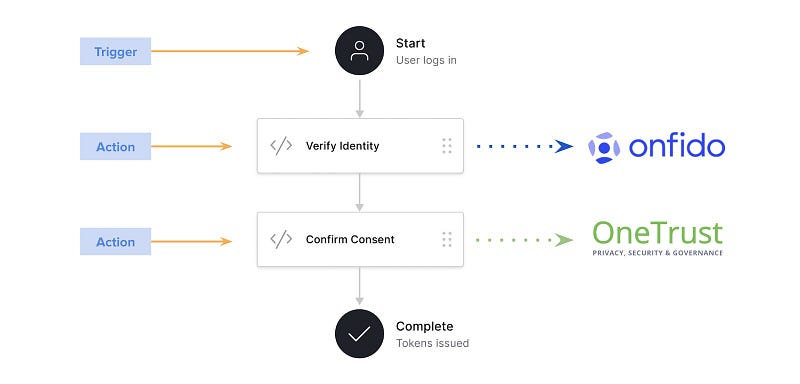 Auth0 Actions login flow showing identity verification and consent steps before token issuance
In the aforementioned flow, you can observe that as the user tries logging into the system, a trigger is initiated to verify the user’s identity using Onfido, and then the user’s consent is confirmed using OneTrust before completing the login flow and issuing the token.
Why Auth0 Actions?
-
Observability: When Actions are executed, Auth0 will capture key metrics about them and link them to Auth0 Logs.
-
Extensibility: Auth0 Actions is built to give developers more tooling and a better experience in their login workflows.
-
Multiple actions on every trigger: Every Action trigger supports multiple independent Actions.
-
Version Control: You have the ability to store a history of individual Action changes and the power to revert back to previous versions as needed.
-
Access to NPM Packages: Nearly all public NPM packages are available to be used within Actions.
-
Pre-Production Testing: Your personal Actions can be drafted, reviewed, and tested before deploying into production.
-
Improved Developer Experience: The flow editor lets you visually build custom workflows with drag and drop Action blocks for complete control.
Implementation
We will be creating an Auth0 Action similar to the flow we saw at the beginning of this article using React. We’ll basically be creating an Action to make Multi-Factor Authentication (MFA) mandatory. You’ll need the following:
-
An Auth0 Account (if you don’t have one yet, visit this link and create one for free)
-
Any Code Editor of your choice. I’d recommend Visual Studio Code.
Getting Started with Auth0
- Assuming that you already have an Auth0 Account, scroll down to find the option that says “
Create Application”.
 Auth0 dashboard option to create a new application
2. In the modal that follows, add the name of the application and then select Single Page Web Applications as its type.
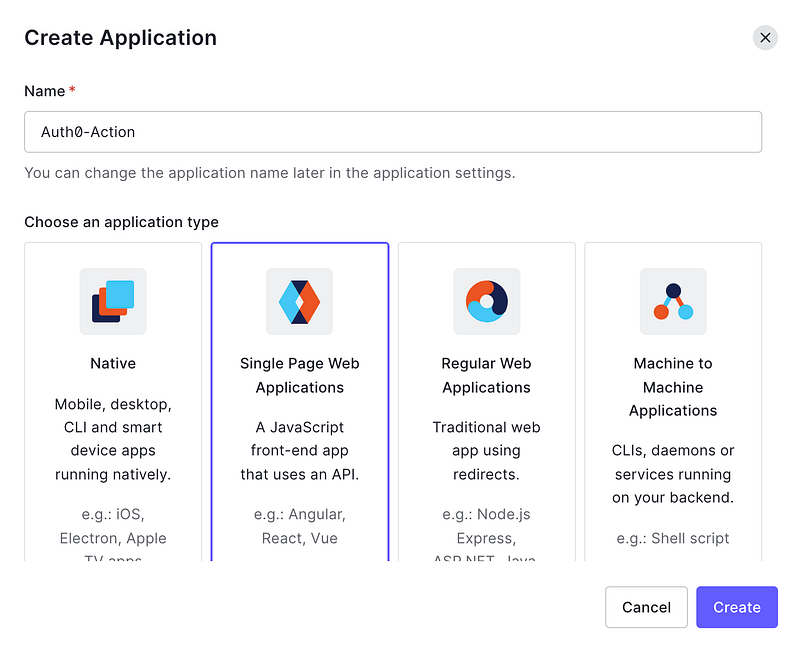 Auth0 create application modal with Single Page Web Applications selected
3. Click the Create button which will redirect you to the “Quick start” section. In the new modal, select “React”.
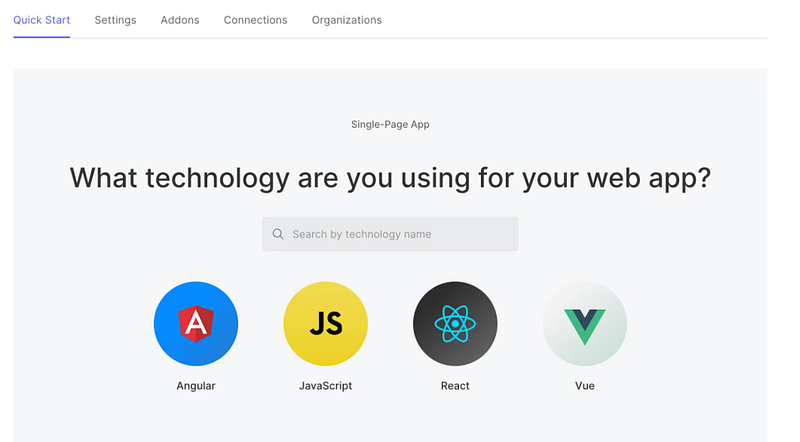 Auth0 quickstart modal with React selected for the application
4. You should see a screen that’s similar to the one below. Proceed to download the code selecting the appropriate option.
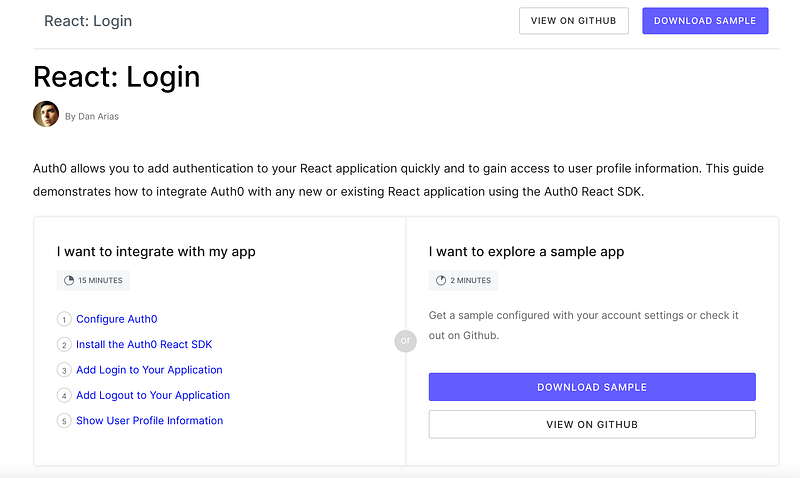 Auth0 React quickstart screen with an option to download the sample code
5. Click on the Setting tab to change the configuration of your Auth0 application. We’ll also be borrowing some data from this tab, precisely the Domain, and Client ID. I won’t be covering the theory of different URLs and origins but if you are interested in reading more about them, refer to this similar article that I drafted a while back.
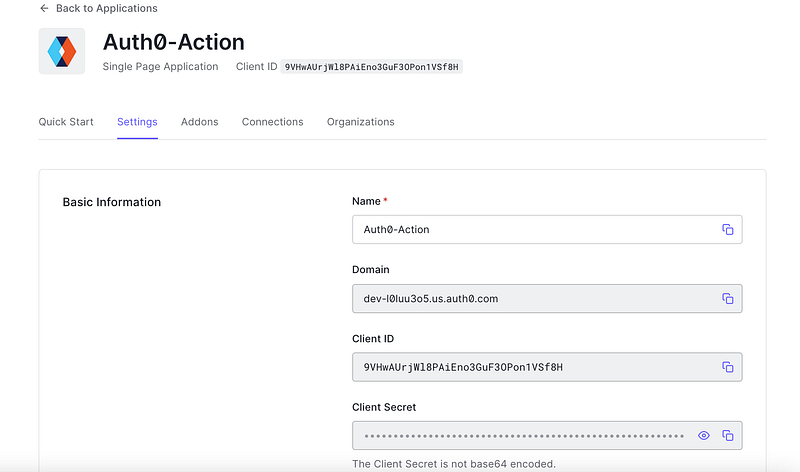 Auth0 application settings page showing domain and client ID values
6. Add your localhost URL which will be http://localhost:3000 unless you have changed it, to the following fields in the Settings Page.
-
Allowed Callback URLs
-
Allowed Logout URLs
-
Allowed Web Origins
Setting Up Users and Roles
- Click on the
User ManagementTab in the sidebar. Click on theUserstab followed by theCreate UserOption. We’ll create 2 Users for our Action.
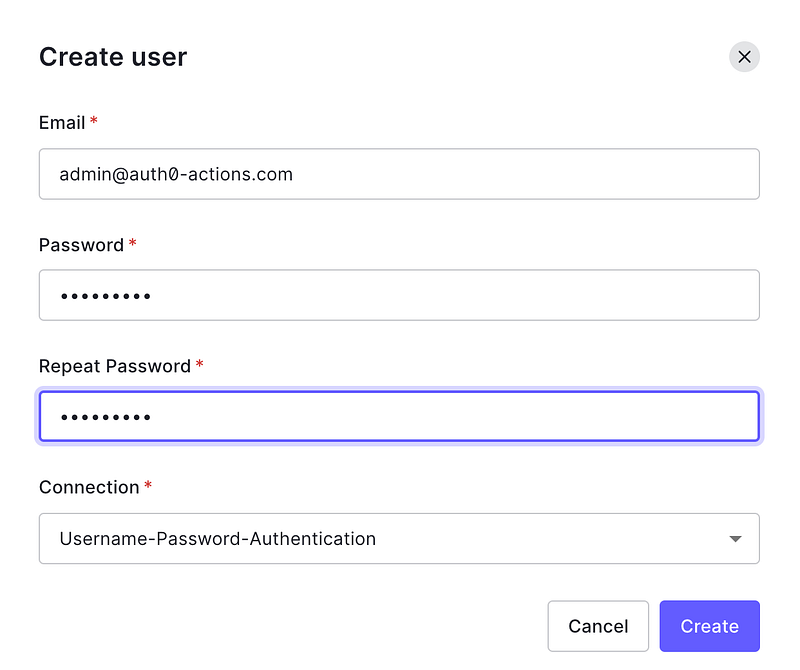 Auth0 user management screen for creating a new user
2. Now go to the Roles Tab and click on Create Role Button. We’ll name the role Admin. Once created go to the user tab and assign it to the Admin user we created previously.
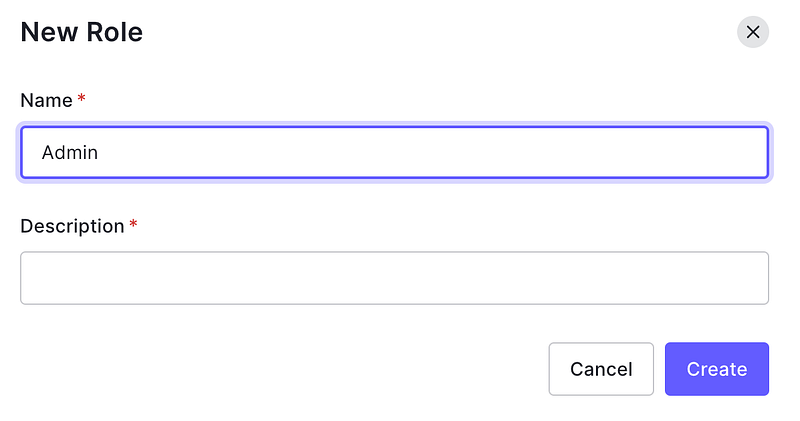 Auth0 roles screen with a new Admin role
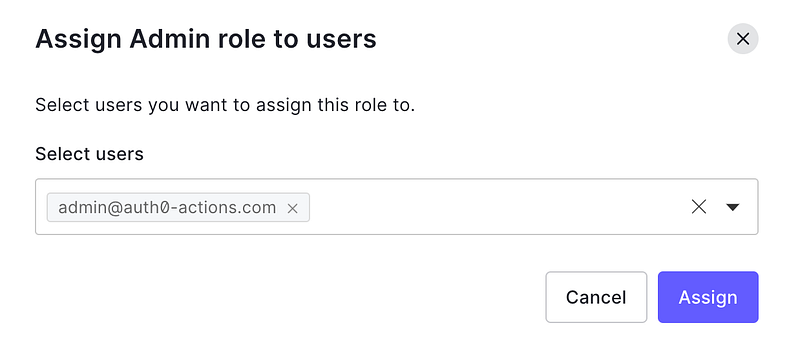 Auth0 user details screen for assigning the Admin role to a user
We are through with setting up roles and users. Now let’s return to our actual Application.
Setting Up the React App
-
Unzip the file we downloaded a while back and open the folder in a code editor of your choice. In
src/auth_config.jsonadd the details of your application from the Auth0 Dashboard, specifically the domain and Client ID. -
To run the code, we first need to install the dependencies. Execute
npm installfor the same. Execute the following to run the application in development modenpm run dev. You’ll see a Single Page Application like the one below built using React.
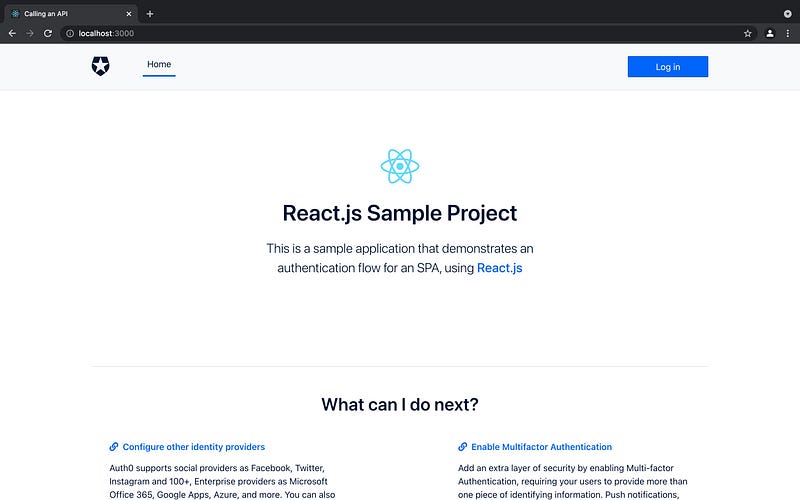 React single page application running locally before Auth0 Actions are configured
You can choose to log in using the credentials we created for Users.
Setting Up Actions
Setting up Actions is easy.
- Click on the
Actionstab in the sidebar towards your left. Go to theFlowsCategory to set up the flow of our Login. SelectLogin Flow. This will run the flow of action once the trigger is executed.
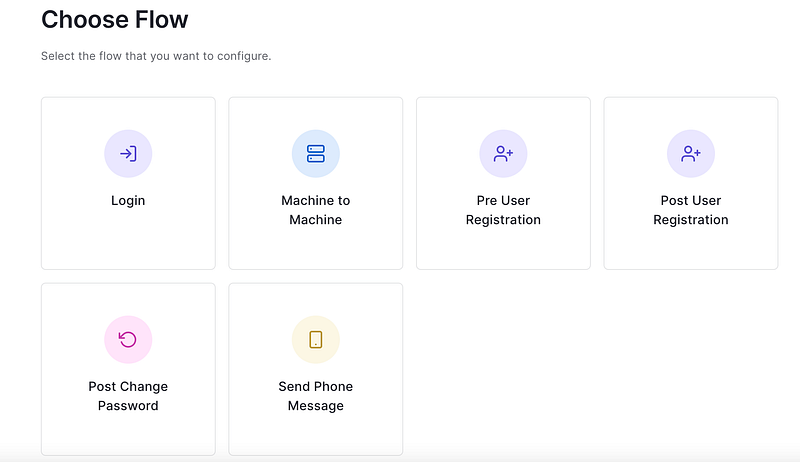 Auth0 sidebar with the Actions section selected
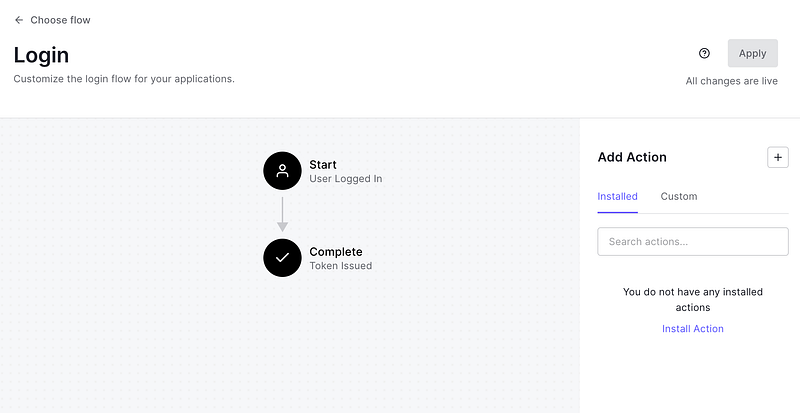 Auth0 Login Flow page where custom Actions can be added
2. Click on the + Button in front of Add Action and select Build Custom. Add a name, leave everything else as is and click on Create.
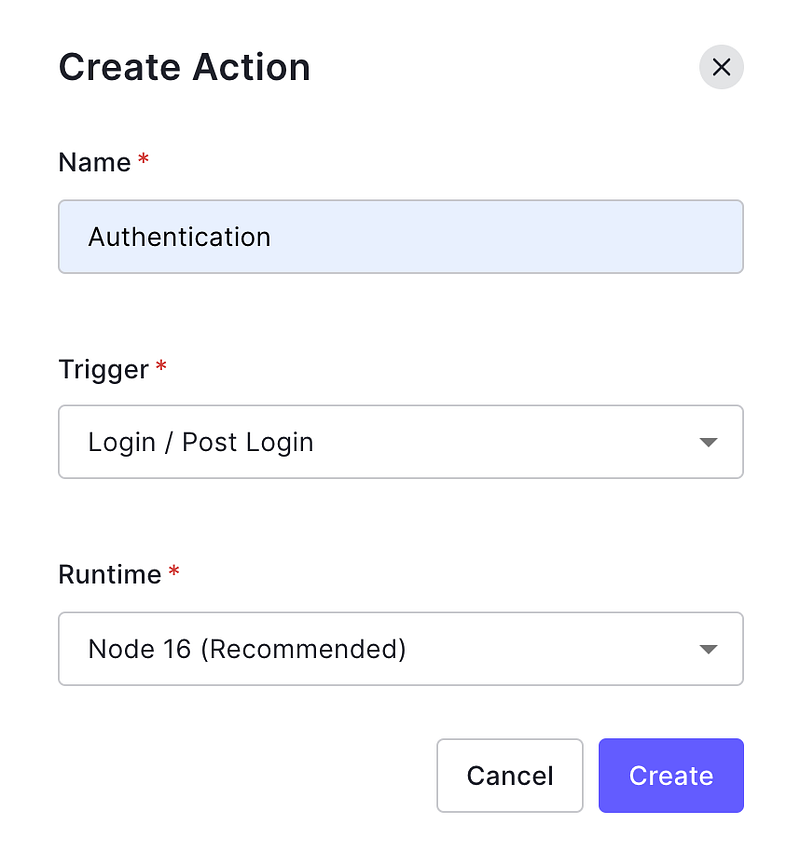 Auth0 modal for building a custom Action
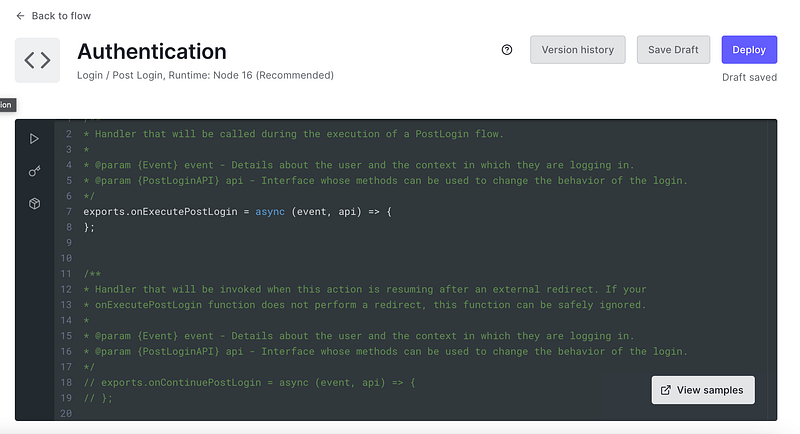
Once done, you’re redirected to a screen that looks like the one below:
 Auth0 custom Action editor showing the onExecutePostLogin function
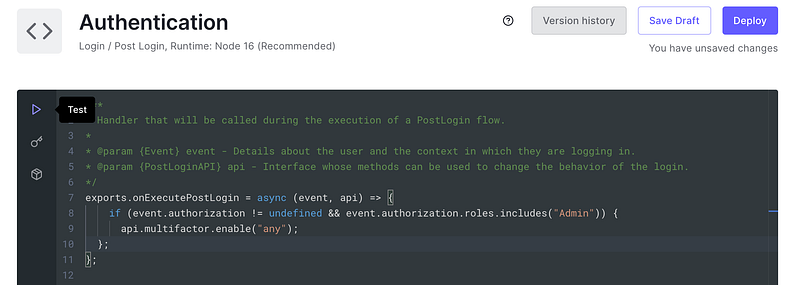
3. Find the onExecutePostLogin function and add the following snippet to it:
if (event.authorization != undefined && event.authorization.roles.includes("Admin")) {
  api.multifactor.enable("any");
};
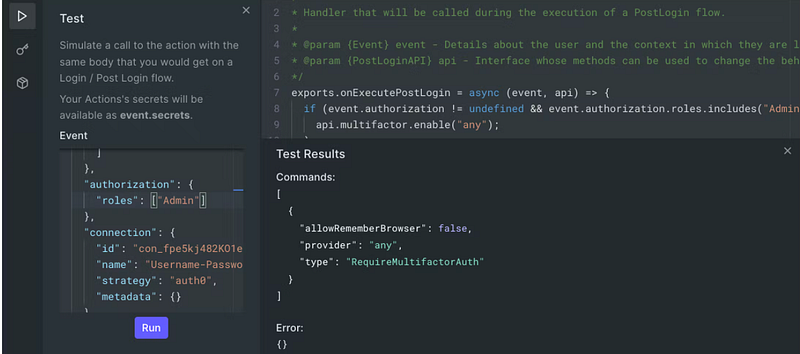
What this simply does is verify if the user has an Admin role and if in case it does, asks the User to go through MFA. On the left side of the code editor, you can see a play button that will emulate a testing environment for your action. You will find the event object in which you can test the actions flow by adding Admin to the authorization.roles array.
 Auth0 Action test runner with an Admin role in the event payload
When you run the function with an Admin role, you will see a response as follows and when it’s not present you get an empty array.
 Auth0 Action test result showing the multifactor authentication response
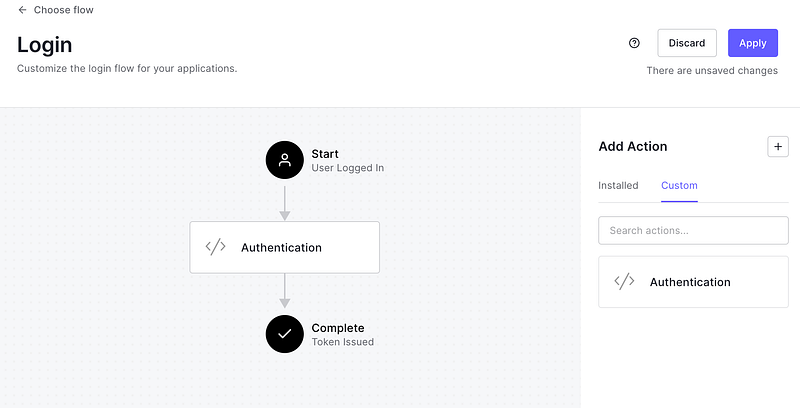
3. Click on Save Draft followed by Deploy. Now go back to the flow and click on the Custom tab towards the right and you will be able to drag and drop the Authentication Action into the flow. Click on Apply and the new flow will be integrated into your Application.
 Auth0 Login Flow with the custom Authentication Action applied
4. Now we need to enable Multi-Factor Authenticationin the Auth0 dashboard. In the Security Tab that you can find in the sidebar, choose Multi-factor Auth. In the following screen enable One-time Password. This will allow users to use applications like Google Authenticator for a one-time password. There are other factors as well that you can enforce such as SMS or Email-based OTP.
In the Define Policiessection leave everything as is and save.
Running the Application
No spoilers here. Just hit npm start and you’re all set. When you try to login into the Application with the Admin account, you’ll be asked to complete the MFA flow we created.
You’ll basically be asked to consent to share your data with the Application and will only be allowed to proceed further after you share the required things. Try to log in with both the users we created previously to see the difference. The Action we created checks if the user trying to log in has the Admin role and if so, it triggers an MFA workflow with any of the enabled MFA use cases of the tenant.
Ending Notes
In a few steps, this is how we can effectively boost the security of our Application using Auth0 Actions. If you are interested in knowing more about the different sorts of triggers, head over to this link. You can also find the official documentation right here.
This article is based upon the following blog post — How to Extend Your Login Flow with Auth0 Actions, drafted by Rohit Mathew, a fellow Auth0 Ambassador.
Implementing Auth0 is relatively easy in comparison to other services available in the market, which is why I prefer working with it. In case of any doubts or queries, please feel free to open a discussion below.